

Planning a thru-hike in a month or less is a gargantuan task, but it can be done. It requires attention to detail, focus, and also a willingness to let some things ride. It helps if you have done a long-distance hike prior. Familiarity with the trail you intend to hike can really help as well. If you’re crunched for time and think you have what it takes to pull off the planning here’s how to do it!
Step 1: Figure out Permits
Some long-distance trails will require permits for some or all of the route. If needed, securing your permit is the first step. The parameters of your permit will determine a lot of other things such as your dates of travel. If you can’t get permits, you may need to move to plan B so don’t get too deep into your planning until you’ve figured this part out.
Step 2: Assess your Gear
Make a spreadsheet that lists the gear needed for the hike. This includes specialty gear such as ice axes that may only been needed for a short part of the hike such as the High Sierra on the PCT. If you aren’t certain, take a look at spreadsheets from others who have hiked the trail. You can see my gear lists from some of my hikes on my website wordsfromthewild.net
Once you have a complete list, check off the items you have. As you do so, make sure to inspect your gear to make sure that there isn’t any damage. This will help you identify gaps that need to be purchased and repairs that need to be made.
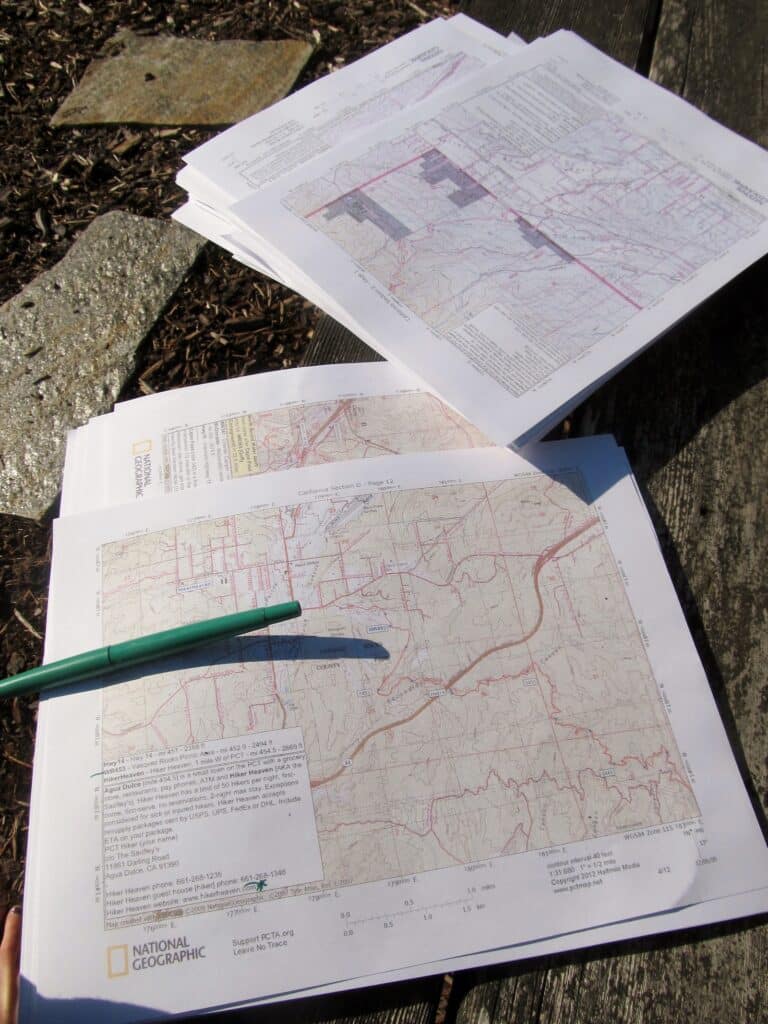
Step 3: Download the FarOut App
Or buy the maps and guidebooks, or all of the above. These resources are not only going to be helpful on the trail, but they will be indispensable with planning your resupply strategy. Familiarize yourself with the resources so that you know how to use them. Mark up the pages of paper resources and maps.
Step 4: Prepare your Resupply Strategy
This is the part that might be difficult to complete before you start your hike due to the time it can take to properly prepare. However, the most crucial thing to do is to identify where supplies can be obtained along the way. I find a resupply spreadsheet to be very helpful. Listing all of the towns, resorts, and post offices along the way is the first information to gather from the maps, app, and guides from the previous step. Include addresses and hours in the spreadsheet. The next column is a great place to enter where the place is in relation to the trail, i.e. 18 miles west of trail on highway xx. Next, list the type of resupply whether it’s a supermarket, gas station, resort, or a place that you can send a box. Last, list the trail mile each are located at so you can see how far apart each is from the previous location.
This will take a lot of research and work, but it will give you an at a glance resource for determining your resupply strategy.
Step 5: Prep Boxes
If you decide that there are locations you want to send food or supplies from home, get those ready. It is also important to establish who will be sending those boxes to you. The easiest option is to skip boxes altogether if you’re trying to pull together a hike on such short notice. However, if you absolutely must send any, you’ll need to get that done.
Step 6: Book your Travel
The last step is to determine how you’re getting to the start of the trail. This may include flights, busses, shuttles, hotels, etc.
Additionally, joining the trail and trail angel groups associated with the trail you intend to hike and reading through the resources offered by the trail organization will help you prepare for the trail and connect with fellow hikers and trail angels. Most importantly, accept that with less time for planning there is an increase in the likelihood that something unforeseen will happen. Maintaining an attitude of flexibility can really go a long way to ensuring success.