In 2018 I thru-hiked the entirety of the Appalachian, Pacific Crest and Continental Divide National Scenic Trails. I started in March and finished in November. Needless to say, I had my fair share of snow hiking and camping in widely varied conditions! While not my favorite (give me a sunny autumn day anytime), there are ways to make snowy days enjoyable for hiking and even camping. In this article, I’ll go over a few of my tips. While not comprehensive, employing some of these can definitely make for a more fun trip when the temps drop and snow flies!
First, let’s briefly cover what’s at stake. Aside from the discomfort of being cold, hiking in cold, snowy conditions can lead to some severe and even life-threatening problems if precautions aren’t taken. The most common issues are frostbite and hypothermia. Frostbite results from soft tissue injury due to cold air temperatures. The colder the conditions, the more likely it is to happen. If left untreated, it can lead to tissue death and loss of the affected body parts. Hypothermia is a body-wide condition where the core temperature drops too low. This can lead to the shut down of body systems and death quite quickly if left unchecked. Hypothermia does not need bitter cold to happen and wetness is a significant cofactor of causation. I have had hypothermia twice, and the most severe case happened when it was 40 degrees Fahrenheit and raining. Before embarking on snowy, cold adventures, research these conditions so that you can prevent and–if all else fails–recognize and treat them before it’s too late. Other issues for snow hiking and camping involve avalanche risk and storms. Do your research before you leave home in order to stay safe!
Footwear
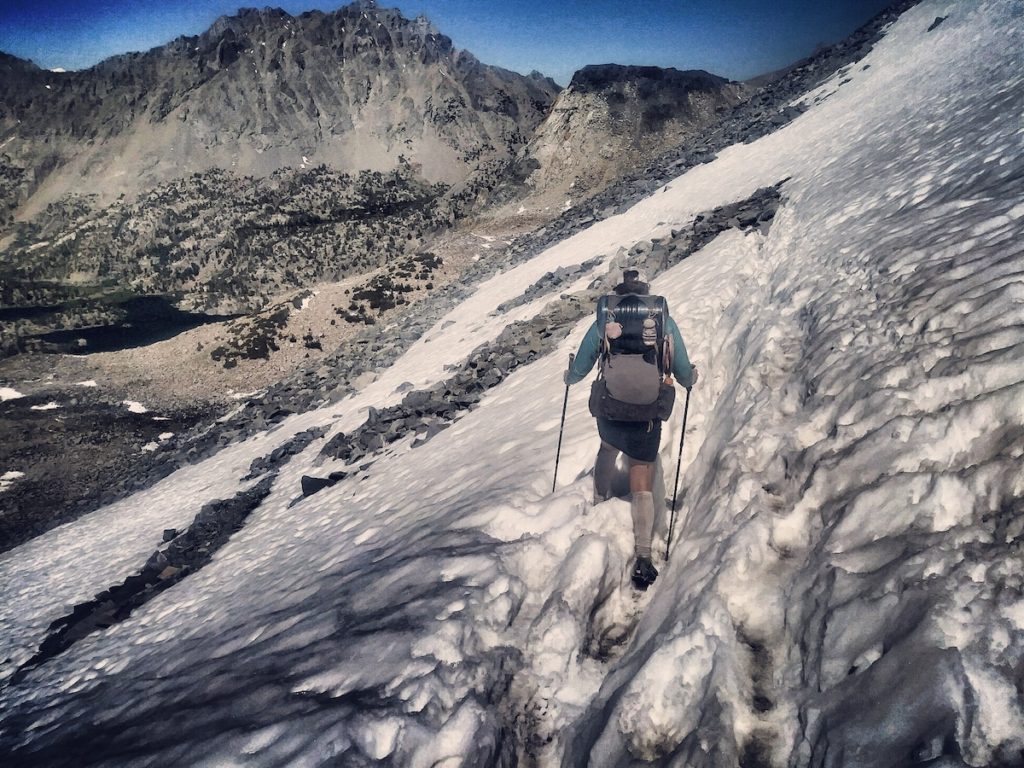
Now, let’s cover the basics for enjoying the hiking hours on trail in the snow. Starting from the ground up, what you put on your feet matters a lot. If you’re hiking through deep snow or slush, your feet are susceptible to nerve damage or frostbite from the prolonged exposure to cold and wet. If you’ll be hiking in deep powder, a good fitting pair of snowshoes can help you float on top and keep your feet drier. This will also make for easier movement rather than punching through (post-holing) into the snow. If conditions are icy or mixed you may want to carry some small spikes that can be quickly put onto and taken off of any footwear. My go-to’s are the FlexSteps and Trail Crampons from Hillsound Equipment. Bear in mind that any traction or snowshoe can pinch your foot and reduce blood flow (leaving your feet susceptible to frostbite) so be sure to find a good combination for your footwear and be mindful of sensation in your toes.
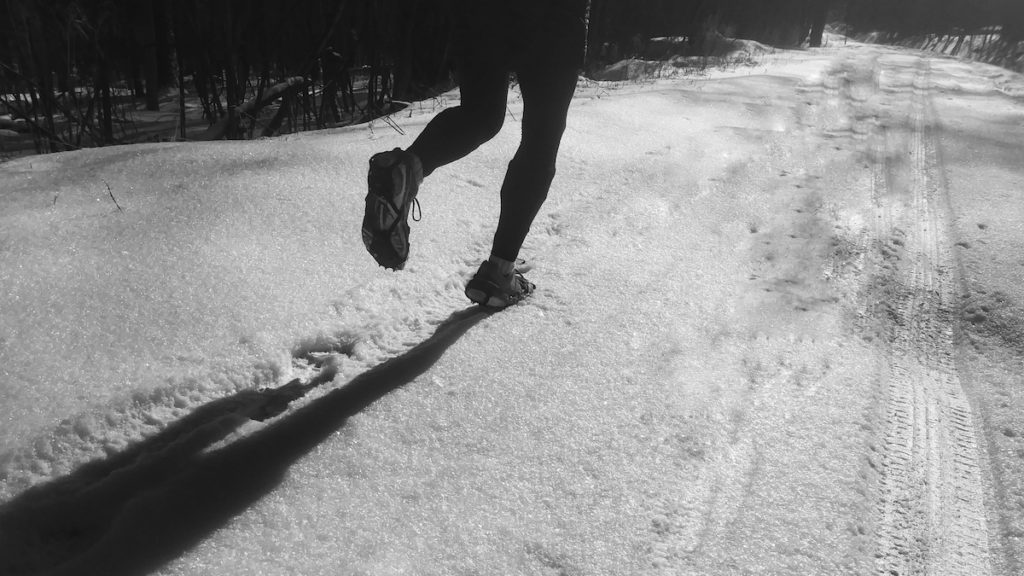
Aside from add-ons you’ll want to wear comfortable footwear that has enough space around your foot so that you don’t lose feeling through restriction. If you’ll be wearing thicker socks, this may mean getting a larger size than normal for winter hiking. Waterproofing is another option. For day hiking I will use a waterproof boot or shoe, however, for multi-day I choose to wear regular footwear and pair with a waterproof sock such as Sealskinz. The reason for this is that all shoes eventually get wet when you’re hiking. Waterproof ones take much longer to dry out. Socks on the other hand can dry overnight. Another way to keep your feet dry and warm is to carry plastic bags (bread bags are popular) that you can wear over your socks inside your shoes if you need to ford a small creek. Keep in mind that you’ll need to know the depth before you try this trick…if the water pours in over the top of the bag your feet will be swamped!
Layering
Above the feet it’s all about layering. In winter especially–due to the hypothermia concern–you need to stay dry. This may mean taking jackets and layers on and off many times throughout the day, however, this will ensure that you stay warmer. I recommend using natural fibers such as wool, alpaca, or cashmere since these will keep you warmer than a synthetic if you do sweat into it or encounter light precipitation. Appalachian Gear Company makes a great alpaca mid-layer that I’ve been very pleased with for cold conditions. The best layering system follows the rule of three: base layer, insulating layer, shell. This applies to your whole body (depending on temperature). Shell layers are ideally waterproof, but even a wind shell/water-resistant shell will often work, depending on the forecast.
Here is my personal layering system for snowy, cold hiking:
My legs usually stay quite warm in a base layer alone, but I usually carry a shell layer in my pack in case I start to get cold. I wear an insulated skirt to keep my bum warm. This can be fleece, down, or puff. On my torso, I wear a base layer long sleeve wool, an alpaca or synthetic mid-layer and a wind shell or rain jacket, depending on precipitation and temperature. It’s also important to layer head and hands! I usually wear a thin wool glove with a fleece mitten and a rain over mitt if needed. I wear a wool or fleece neck gaiter or balaclava and a warm hat. My wind shell or rain jacket hood serves as the shell for my head. I carry a very warm synthetic or down puffy to wear when I’m stopped so I don’t lose accumulated body heat.
Navigation
Once dressed and ready to hit the trail your next concern is navigation. Finding your way in a snow-covered forest can be quite disorienting. Be sure to carry navigational tools–map and compass, GPS/app–so that you don’t get lost. Often trail markers can be covered by snow and the trail invisible. Pay attention at all times so you don’t get off route! I check my location every 5 minutes in completely snowy conditions to make sure I don’t wander off route.
Snow Camping
If you want to extend your hike to include snow camping, here are a few tips. Snow camping is very different from summer camping and requires much more attention to detail, gear, and caution to stay safe and warm. If you try it, stick to easy locations (such as your backyard) for the first few nights before branching out. It can be fun to learn new skills, just take it slow and stay safe!
Campsites
When selecting a campsite, you have two options: camp on top of the snow or dig down to the ground. If the ground is not frozen and you are not carrying snow stakes digging down is probably your best bet. If you have snow stakes, the ground is frozen and/or the snow is very deep you’ll want to camp on top of the snow. Use your feet to stomp out a packed and level space to pitch your tent. No matter which option you go with, choose a protected area and be vigilant for snow or ice loaded limbs and widowmakers that could fall on you at night.
Tents
Although a single wall tent may be fine to use depending on the weather, a double-wall tent will be much warmer. It’s also a very good idea to use a four-season tent that is rated to withstand snow and wind loading. Many summer tents will simply collapse under the weight and additional stress of snow. If you do choose a single wall or summer tent and it’s snowing overnight, be prepared to go outside and remove the snow several times as well as re-tension the shelter. Always make sure there is adequate airspace around the tent to avoid suffocation.
Sleep System
Once safely inside the tent, I put my shoes into a plastic bag and into the foot of my sleeping bag. I sleep with them and place my socks under my sleeping pad to keep them from freezing overnight. With regard to your bag and pad, carry a sleeping bag that is rated to the temperatures you’ll be experiencing…a little warmer if possible. For example, the lowest temperatures I camped in on my Calendar Year Triple Crown were around 10. However, I used a zero-degree bag and was glad for it. Many sleeping bag ratings are the survival rating, not the comfort. So, choosing a bag rated 10-15 degrees more than you expect to see will usually give you a much more comfortable night. Your sleeping bag is not the only important part of the sleep system. Choose a sleeping pad that has a high R-value (5+). You will lose a lot of heat to the ground on a less insulating pad. Proper pairing of pad and bag will keep you cozy despite the cold!
Overnight Comfort
For overnight, it’s important to wear dry, clean clothes. I usually have a dedicated set of sleep clothes either fleece or merino. Switching into these dry clothes, getting into my sleeping bag and adding my puffy jacket helps ensure that the body heat from the day doesn’t get lost as I begin to generate less. I also recommend thick warm socks and a pair of insulated booties to wear inside your bag. Tossing a couple of hand warmers into your bag with you can really help on the very cold nights. Alternatively, you can make a hot water bottle. Just make sure that the lid is very tightly sealed!
Just because snow is on the ground doesn’t mean hiking season has ended. Adapt and Enjoy!


